
 |
| My beautiful bouquet |
I decided that I would just press all of the flowers and then try to do something with them when they were all flattened out. I pulled apart the bouquet flowers one by one and placed them in CJ's college textbooks (glad we could make use of them one more time!). Once they were all put in the textbooks, I weighted them down with a ton more books to make sure they were as squished as possible. Then, I just left them there for several months.
Last weekend, CJ and I were running a bunch of errands and decided to venture into HomeGoods for the first time. As were were wandering down one of the aisles, we spotted the perfect shadow box for my flower project and it was only $12.99! I was sooo excited to bring it home and get started on my bouquet project.
When we got home, I took out all the flowers from the textbooks and started to place them in the shadow box to see how I wanted them to look.
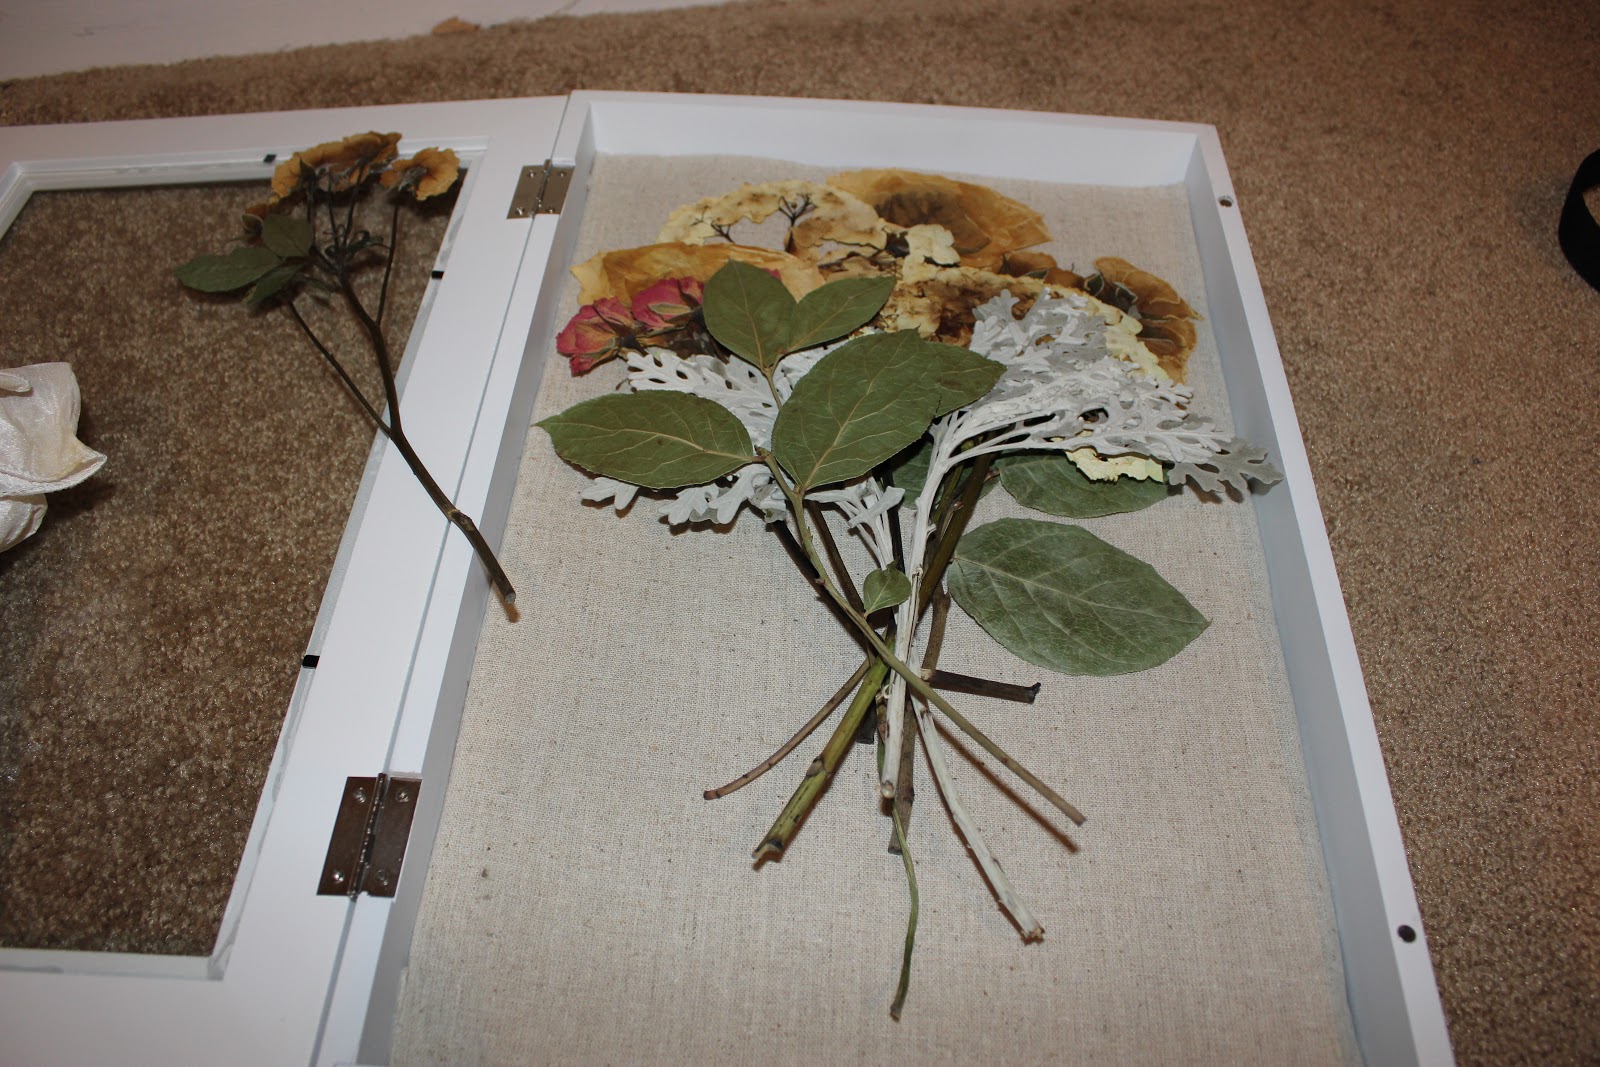
I also rewrapped the fabric from the bottom of my bouquet so it was nice and neat.

Once I got the flowers where I wanted them in the shadow box, I laid the fabric base on top of the stems of the flowers and started pinning the base into the cushioned shadow box backing. Luckily, I had some extra pearl pins from my bouquet and the shadow box came with about a dozen of them. I kept pinning the fabric until the base was as flat as it could be and then lifted it up to make sure nothing moved. I closed the front of the shadow box and, VOILA! I was done.

Super easy project and it looks so professional. I've already had two people tell me that it looks like I bought it from a store. :)
Beautiful - you did an awesome job on that project - very creative!
ReplyDeleteturned out really great!!!
ReplyDelete